An Auger Filler Tray for Free Flowing of Powders and Particles
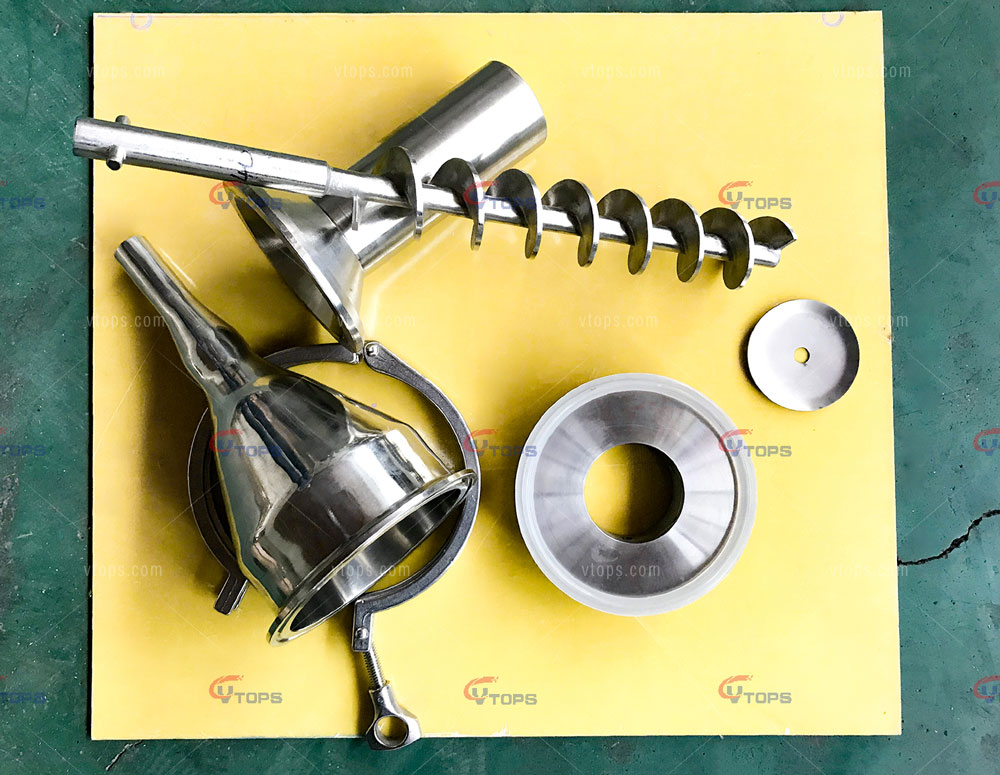
This post will introduce the auger filler tray how to work, and how to provide the even filling for free-flowing powders and small granules.
1. How to Determine if Your Product is Free Flow or Non-Free Flow?
Perform this simple test to determine if you have a Free Flow or a Non-Free Flow product. This test will help you in choosing an auger filler as well as the tooling that is right for your product.
If you have both a Free Flow and a Non-Free Flow product and would like to use the same machine, we can do that for you depending on the products. There would be some changeover required with multiple products on the same machine, however it is mostly cleaning and switching out your tooling.
If you have multiple sets of tooling and need help with changeover, contact us if you free
2. What is the Auger Filler Tray?


3. How to Disassembly & Install Auger Tray?
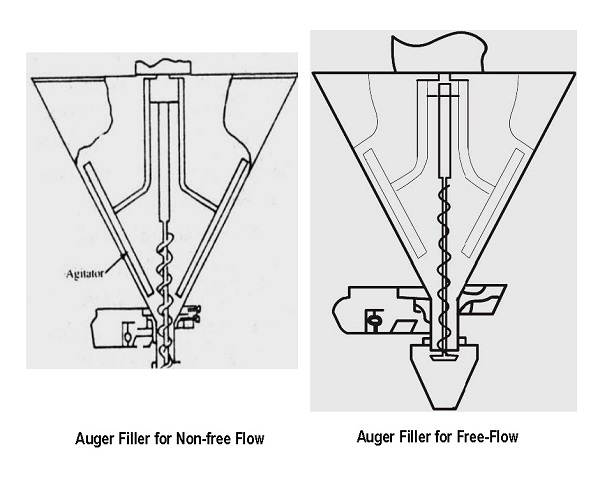
3.1 Schematic Diagram
 Figure Left: used to move non-free flowing materials.
Figure Right: Designed an auger filler tray to provide an even filling of free flowing materials, while preventing the natural flow when the auger is not turning.
 3.2 3D Video of Disassembly & Install
We are sorry to add a watermark to the video due to protects the copyright! Please forgive us if the bad viewing experience brought to you.
The purpose of this video is to teach the customers who have purchased our machines how to install and disassemble the Auger Tray, as well as the main precautions.
Briefly summarize the installation sequence and precautions are the following:
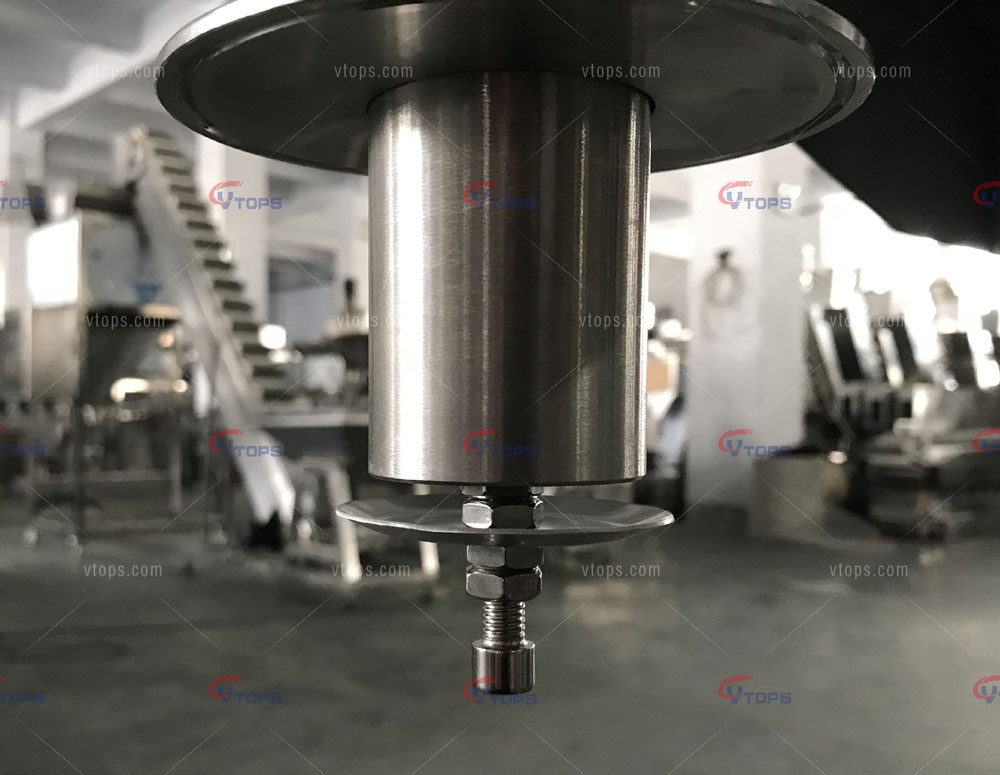
- Step 1: Install the funnel cover. Please note that the distance between the Funnel Cover and the discharge port should not exceed 2 cm.
- Step 2: Install the Auger Tray. 2.1>> If a Auger Tray needs to be installed, the Auger Circular Filter cannot be installed. In other words, please remove the circular filter inside the auger tube in advance. 2.2>> Please note that the distance between the Auger Tray and the discharge port should not less 10 mm. Generally, the recommended distance is 15 mm. Appropriately reduce the distance by 2 mm if it also leak after installation.
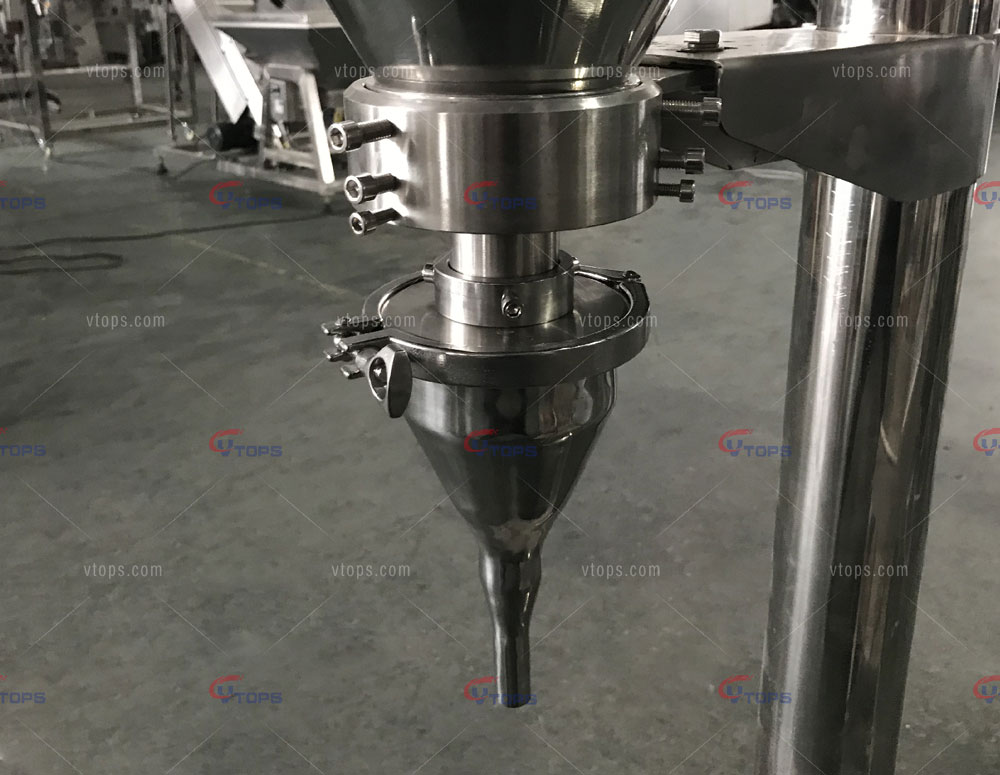
- Step 3: Install the Funnel Hopper. Please pay attention to check whether the leak-proof device is symmetrical after installation.
- Step 4: Modify Technical Parameters. Home >> Parameters >> Fast Speed Filling Frequency >> 4500 to 5500
3.3 Special Attentions
In order to better use the machine and extend the service life of the machine, we have listed common problems are the following:
-
- (1) Leak-proof Device only for Free Flowing Products. Such as, fine sugar, salt.
- (2) In addition to the Disassembly & Install Video above, there has a detailed illustrations on page 42 of the Operation Manual (44 pages in total, version 2021.04).
- (3) If the Auger Filler makes a harsh (blocked or jammed) noise, stop it immediately. It may be because the distance between the Auger Filler Discharge port and the Auger Tray too close.
4. Working Video for the Products of Both Free Flow and Non-Free Flow
Auger filler working video for both materials of Free Flow and Non-Free Flow.
Key Words: free flow auger filler; free flow auger filling machine; free flow auger filling solution.